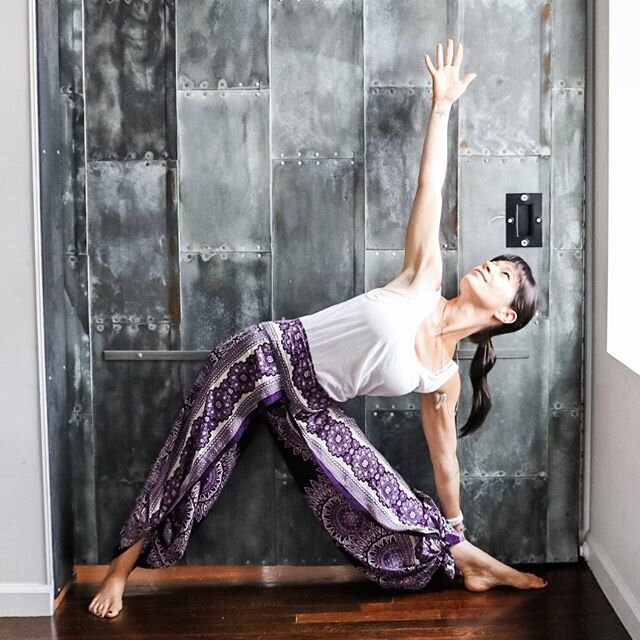
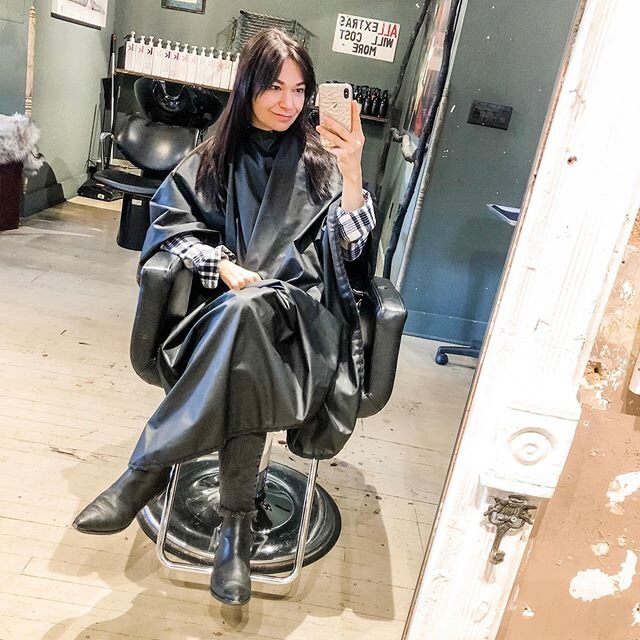
At only 19, I was still sporting a fun, long straight blonde hair look . Since I am young, I was able to pull it off, but now that I am beginning to work in the beauty and fashion industry, I felt it was time for a more mature look. Enter long layers, a real style. I received an invite for a complimentary haircut from the Elizabeth Arden Red Door Spa, and knew this was my chance to make a big change with a stylist I could trust. I sat with my stylist, Billy Deewillians and explained how I saw long layers in my future. Here are his tips for women, like me, who are seeking out a new style with layers.
Tip 1: Know Your Face Shape
"Haircuts are always all about complimenting the shape of your face," Deewillians commented. "Before you even decide what your hair style will be, you want to make sure it suits you." Layers compliment women with round facial features instead of enhancing features on the women with angular shaped faces. Angular faces tend to go for the softer haircut instead of intense layers. This is not to say if you have high cheek bones and a sharp chin you can't have layers. Just instead of such angles and layers around the face like mine, go for a cut that has the front fall around the face.
Tip 2: Less is More
It is also important that you steer clear from stringy layers and don't lose the ends, which is the effect you'll get if you add too many layers. For my haircut, Deewillians kept the length in the back and cut it shorter in the front for the style. He explained that with my hair shorter in the front, it creates more opportunities to play with different looks.
Tip 3: Style with Hot Rollers
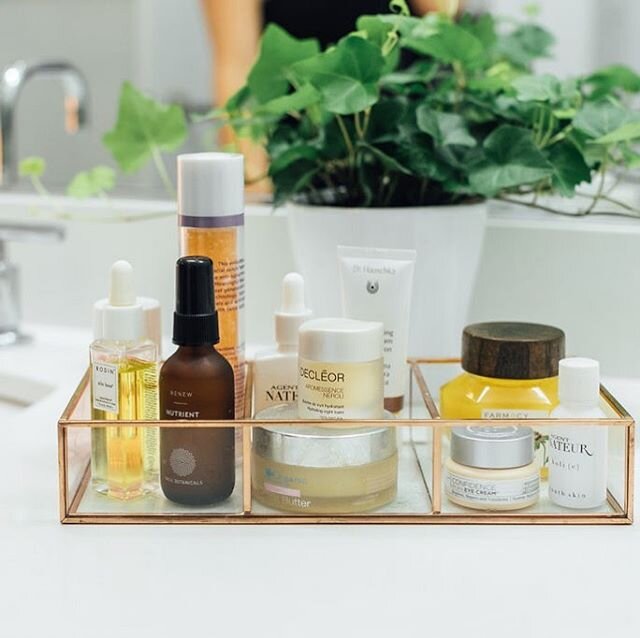
My main concern was having to wake up earlier in the mornings to style it. I knew I wouldn't be able to go from rolling out of bed and just brushing my hair to having to spend an hour styling it. Deewillians swears by hot rollers. "It's a way for you to style your hair without a lot of heat and time," he remarks. You can shower the night before, put a little bit of mousse in (he recommends Kerastase Resistance Volumactive Mousse), and let it air dry, or even sleep on it wet if you need. Then, when you wake up, pop in some jumbo rollers and go on with your morning. They don't have to add a lot of curls, but it will give your hair a lift at the roots.
Not only are curlers convenient and time-saving, but according to Deewillians, it works best for my hair type. "It's the go-to for fine hair," he explains. Hot rollers create the saloon looking effect more so then a curling iron.
"At the end of you day you want volume in every part of your hair, not just the top" explains Deewillians. "Therefore, you want to create thickness throughout." Well, mission accomplished because I have never felt like I had so much hair to play with.
While I may have started my summer as an ambitious 19-year-old with pretty long straight hair, I will be leaving as an accomplished 19-year-old with a sexy new hair style to prove it.

 Remember when I chopped my hair into a bob? It was a like a fresh start and felt so good to get rid of all of that damaged length. Now that my hair's grown out though, I love it long, but unless I get a blow out, it looks thin and stringy. Therefore, I'm a blow dry addict (not to mention curling iron obsessed), which only leads to more damage on my freshly grown out strands. Oh, you heat style your hair, too? Of course you do! Well, I found a way to prevent damage, which makes torching my hair almost OK.
 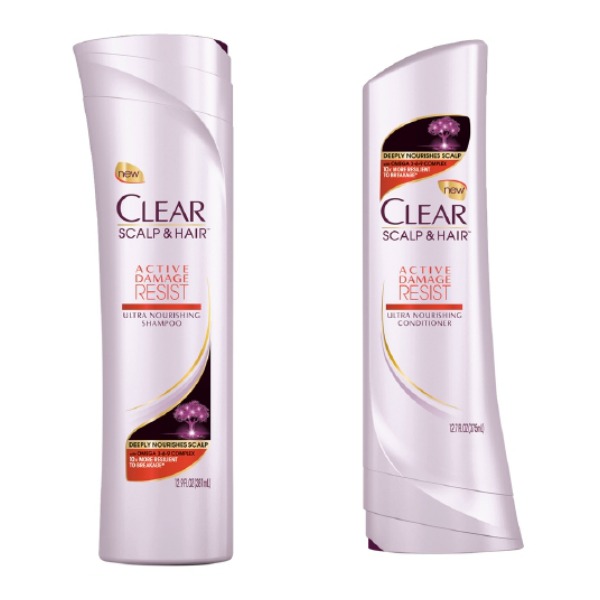 So if you're anything like me, blow out obsessed or just heat style your hair often, I strongly advise using the proper protectant products so you don't damage your hair. Unless of course, you're ready to make a serious chop!
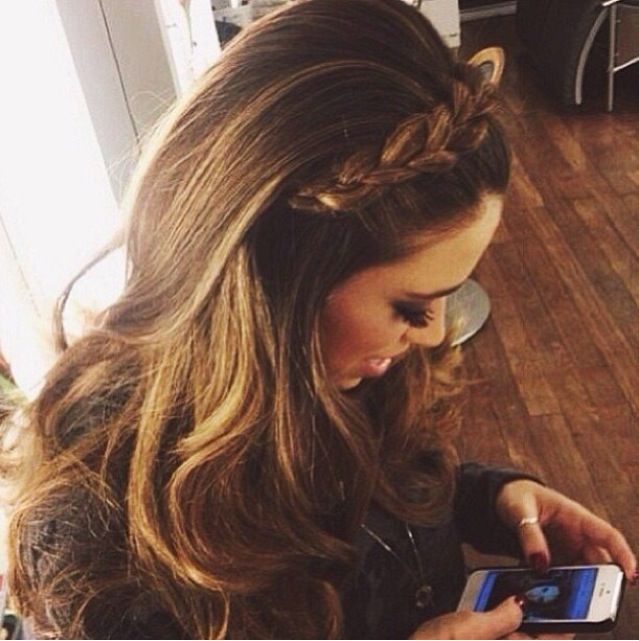


 Now that I have hair extensions I can no longer wear my hair straight because they're so long I'd look like Cousin It. Naturally, the hair is wavy and I normally embrace it, but occasionally I'll blow dry it and enhance the voluminous blow out with waves made by a curling iron. As of late, I've been using a new styling tool that I have to tell you about – the Remington T-Studio Pearl Ceramic Styling