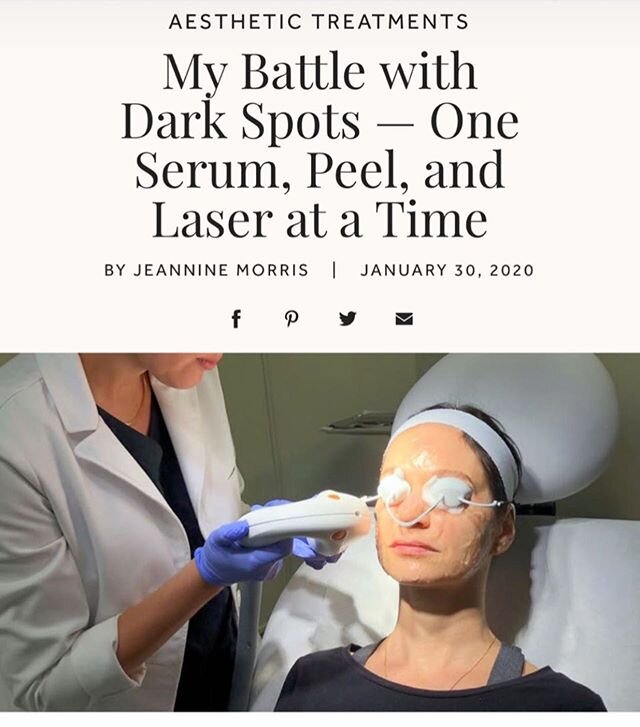

While there may not be one mascara out there that does it all, throughout my years interviewing makeup artists, I've found that no matter what type of look you seek (length, volume or definition) one thing's for sure – application is key. I'm sure you've heard it all before: take your time, wiggle the brush in between your lashes before pulling up for definition and of course, mixing formulas couldn't hurt. However, I spoke with Celebrity Makeup Artist, Jake Bailey, who confessed the ultimate mascara tip that changes everything.
This may seem like common sense, but Bailey explains, "When applying mascara, it’s more important to coat the root of the lash rather than the tip." To make sure you get in there without leaving a mess, fold a Puffs tissue and place it at the bottom of your eyelashes, where the roots meet your eyelid. Then, apply the mascara from the root and pull it through your lashes against the tissue toward the tip, leaving the excess on the tissue.
Genius! If you try it, you'll notice there will be mascara all over the Puffs tissue, but not on your eyelid and you can really concentrate on pulling your lashes up from the root without your nerves getting in the way. Plus, you can do this on the bottom too to prevent raccoon eyes.
*This post is sponsored by Puffs, but all of the information is true.
 Now that I have hair extensions I can no longer wear my hair straight because they're so long I'd look like Cousin It. Naturally, the hair is wavy and I normally embrace it, but occasionally I'll blow dry it and enhance the voluminous blow out with waves made by a curling iron. As of late, I've been using a new styling tool that I have to tell you about – the Remington T-Studio Pearl Ceramic Styling