 Getting manicures is a pain in the butt because unless I get CND Axxium (the gels) my polish always chips within two to three days. Therefore, I find myself getting a polish change and a manicure in one week because I can't stand the thought of having unkept hands. I've heard about the Sally Hansen Salon Effects Nail Strips, but was very skeptical about them until I gave them a whirl. Now, they're my latest must have.
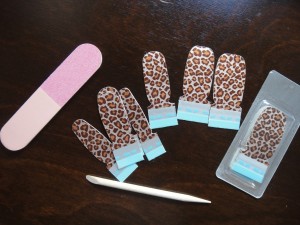
As usual, I had my weekly manicure on Wednesday and all my polish chipped by Friday so my nails were neatly manicured and instead of opting for my weekly polish change I decided to try out the strips. The kit comes with detailed instruction (even though the process is pretty self explanatory), a mini nail file with different surfaces, wooden cuticle pusher and about 14 strips.
 I opted to try the leopard print design (hey, why not?) and while applying them I was also conversing with my best girl friend on the phone. Since they're strips, you don't have to worry about concentrating too hard on messing up. I have extremely tiny nail beds, which is why I was skeptical about these strips working for everyone, but because the kit came with a few different size strips for each hand, I was able to match them up best I could to my nail beds and throw the extras that were too big out.
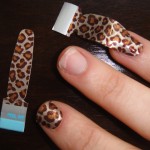
The steps were simple, buff, peel, apply and file. After I stuck the strip on, lining it up to my nail bed, I was left with quite a bit of length at the end. I like to keep my nails really short and square with rounded edges. To remove the excess, I filed it away and around the shape of my nail.
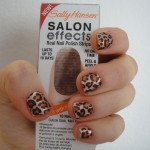
 All in all it took about 20 minutes and I do think they can accommodate people with different nail bed sizes and nail shapes. Is my DIY mani perfect? No, I have some spaces around the edges, but they're barely noticeable. I'm anxious to see if they really last the 10 days they claim to.


